Vizuly Professional and each Premium Component comes bundled with a sample Angular app and an associated set of core and source Vizuly files optimized for Webpack and Angular. This tutorial will walk you through the steps to launch the Vizuly Angular test container.
Note: This tutorial assumes you are familar with node, npm, and webpack as well as the command line. These framework dependencies are required by Angular and can sometimes be tricky to configure and get working properly on your local machine. This tutorial does not substitue for a proper primer in using and troubleshooting these other frameworks.
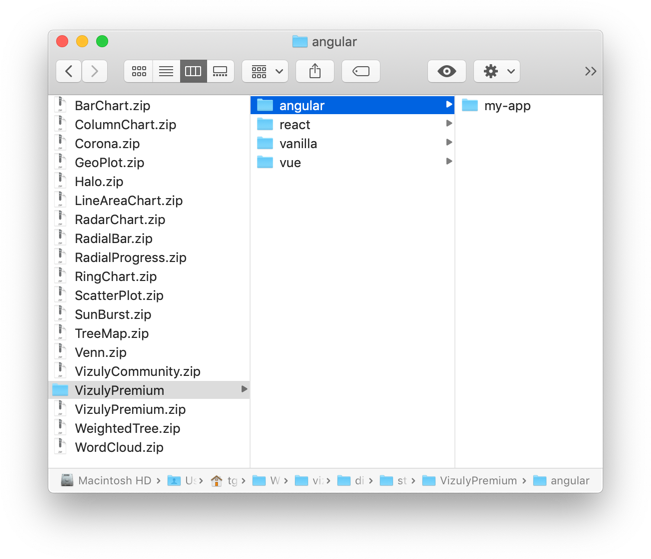
Step 1. Download Vizuly Professional or your Premium Component
Download the VizulyPremium.zip or PremiumComponent.zip file from your Vizuly order (purchase required) and unzip the file. You should see a directory that looks like this:
Step 2. Install npm modules.
Open a terminal session and navigate to the VizulyPremium/angular/my-app/ directory and run npm install.
$ npm install
When this operation has successfully completed you will notice a new directory my-app/node-modules/.
Step 3. Launch "my-app" via Angular CLI
Once npm has installed all its dependencies you can then launch the my-app via the Angular CLI command ng serve using the --open flag will launch the app in your default browser.
$ ng serve --open
Once this command has run, you should see a window like the below in your browser.
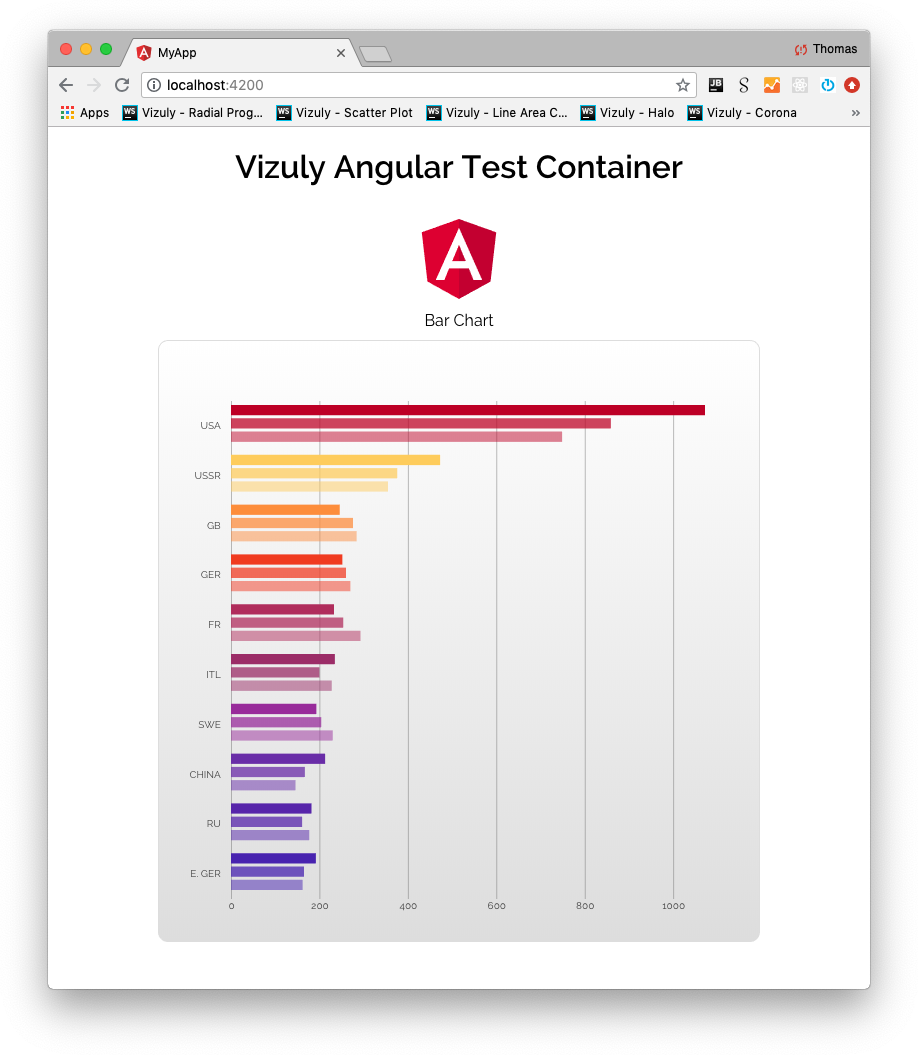
Thats it! You now have a running Angular app with examples of all the vizuly components. If you scroll down the app you will see all of the Vizuly components rendered to the screen.
Using Vizuly in Angular
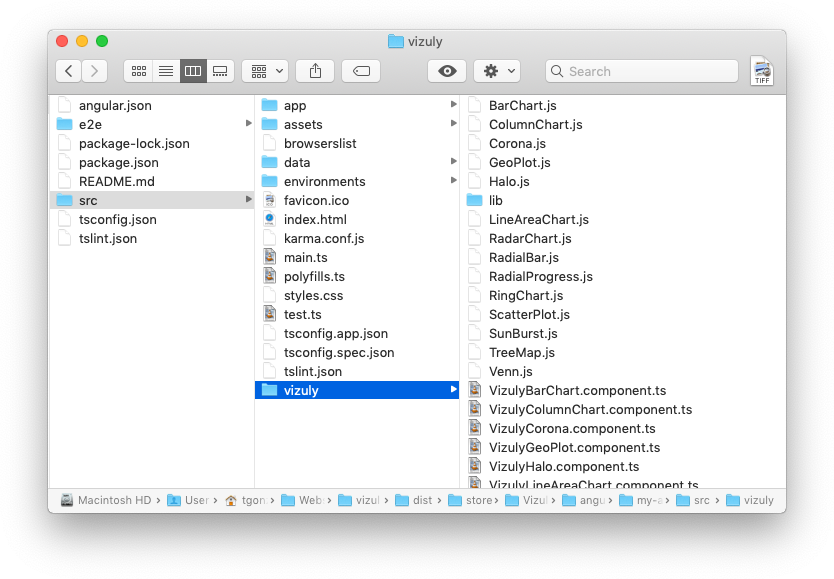
Each Vizuly component has its own TypeScript wrapper which can be found in the the my-app/src/vizuly directory. These .ts wrappers expose all of the native Vizuly component functionality through a set of four array property setters named props, styles, events, and watchers. Additionally, they have two other methods which can be called. The first is updateComponent() which tells Angular to call the viz.update() function and render the component to the screen. The second method .updateOnChange(true|false) takes a boolean operator that when set to true will automatically call viz.update() when any of the setters have been modified.
For our Angular app each Vizuly wrapper component is launched through its associated ComponentTest.component.ts file which can be found in the src/test/ folder. These test containers load the appropriate sample data and set the approriate properties, styles, events, and watchers for the Vizuly component.
Note: Use .updateOnChange(true) with caution, as it means each time an setter is updated the component will re-render. So if you set all 4 setter with .updateOnChange(true) it means the Vizuly component will try and render itself 4 times sequentially which can lead to performance issues.
| Setter | Description |
|---|---|
props |
Sets properties on Vizuly components. this.barChart.props = [{'data' : this.barChartData}] is the the same as viz.data(this.barChartData); |
styles |
Sets styles on Vizuly components. this.barChart.styles = [{'bar-fill' : '#F00'}]is the the same as viz.style('bar-fill' : '#F00'); |
events |
Sets events on Vizuly components. this.barChart.events = [{'mouseover' : function () { console.log('ColumnChart.onMouseOver')}}]is the the same as viz.on('mouseover', function () { console.log('ColumnChart.onMouseOver')}}); |
watchers |
Sets watchers on Vizuly components. this.barChart.watchers = [{'data' : myDataWatcherFunction }] is the the same as viz.onChange('data', myDataWatcherFunction); |
Below is sample source code from the test/BarChartTest.component.ts file of how to set these property setters for the Bar Chart component.
 /************************ BAR CHART ************************/

  this.chart.props = [
      {'data' : this.barChartData},
      {'x' : function (d) { return Number(d.value)} },
      {'y' : function (d) { return d.country } },
      {'seriesLabel' : function (d,i) { return d.category }}
  ];

  this.chart.styles = [];

  this.chart.events = [
      {'mouseover': function () { console.log('ColumnChart.onMouseOver')}},
      {'mouseout': function () { console.log('ColumnChart.onMouseOut')}} ];

  this.chart.watchers = [{'data' : function (valOld, valNew) { console.log ('data property has changed') }}];

  this.chart.updateComponent();
If you look in the src/test directory you will see the source code examples for all of the Vizuly components for each test container.
Descriptions of relevant source files
The relevant source files are as follows:
| Location | File | Description |
|---|---|---|
my-app/src/app |
app.component.html |
Primary html file that holds all Vizuly Component Test Containers. |
my-app/src/app |
app.component.ts |
Primary typescript file that instantiates and sets properties for all Vizuly components. |
my-app/src/app |
app.module.ts |
Module file that imports all Vizuly Components into angular app. |
my-app/src/vizuly/lib |
*.* |
All minified javascript and css files required by Vizuly. |
my-app/src/vizuly |
*.js |
All Vizuly source javascript component files packaged for webpack. |
my-app/src/vizuly |
*.component.ts |
All Vizuly component TypeScript wrappers that import the *.js Vizuly source files. |
my-app/src/data |
*.* |
All .json data files used for the Vizuly test container. |
my-app/src/test |
*Test.component.ts |
All Vizuly Angular test containers that set the properties, styles, events, watchers for each Vizuly Angular Wrapper |